Paddock Practices: Nutrient testing worth scrutinised in new project
Date: 04 Jun 2019
For most grain growers, fertilisers are the biggest input cost so a carefully considered soil and plant testing regime and fertiliser program are key components to ensure a grower’s cropping program is successful and producing the most profitable results possible for the current season and into the future.
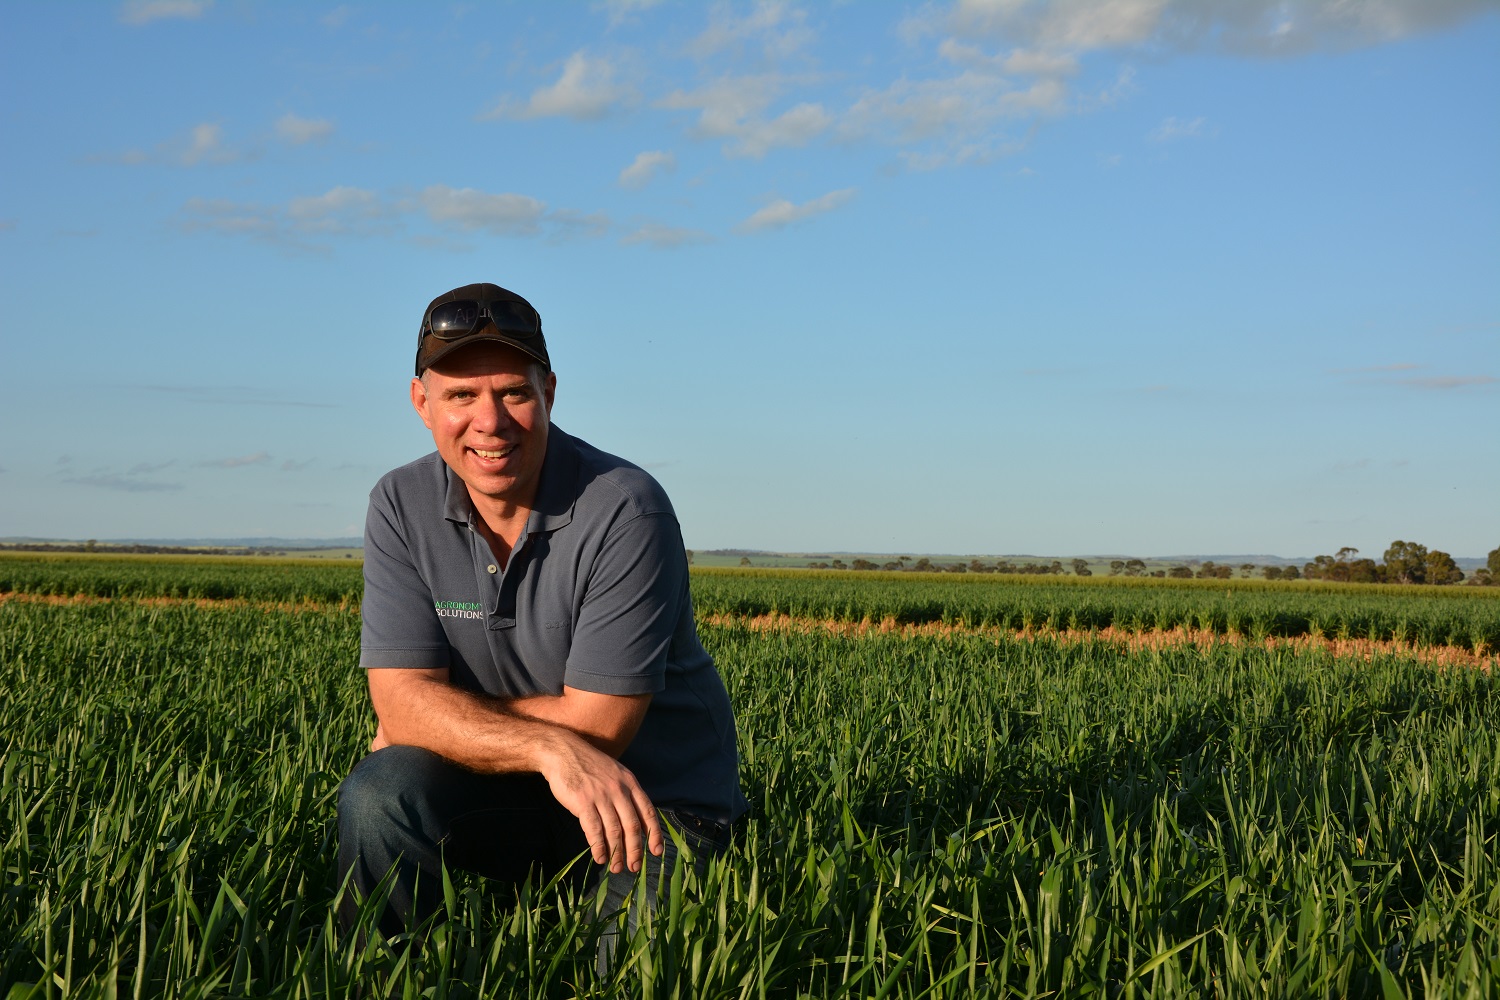
That is one of many benefits, according to Agronomy Solutions director and research agronomist Sean Mason, who is one of the leaders of a new GRDC investment, ‘Using soil and plant testing data to better inform nutrient management and optimise fertiliser investments for grain growers in the southern region’.
This investment is aiming to demonstrate the value of soil and plant testing for profitable fertiliser use to growers who do not have a regular testing program.
Plant testing
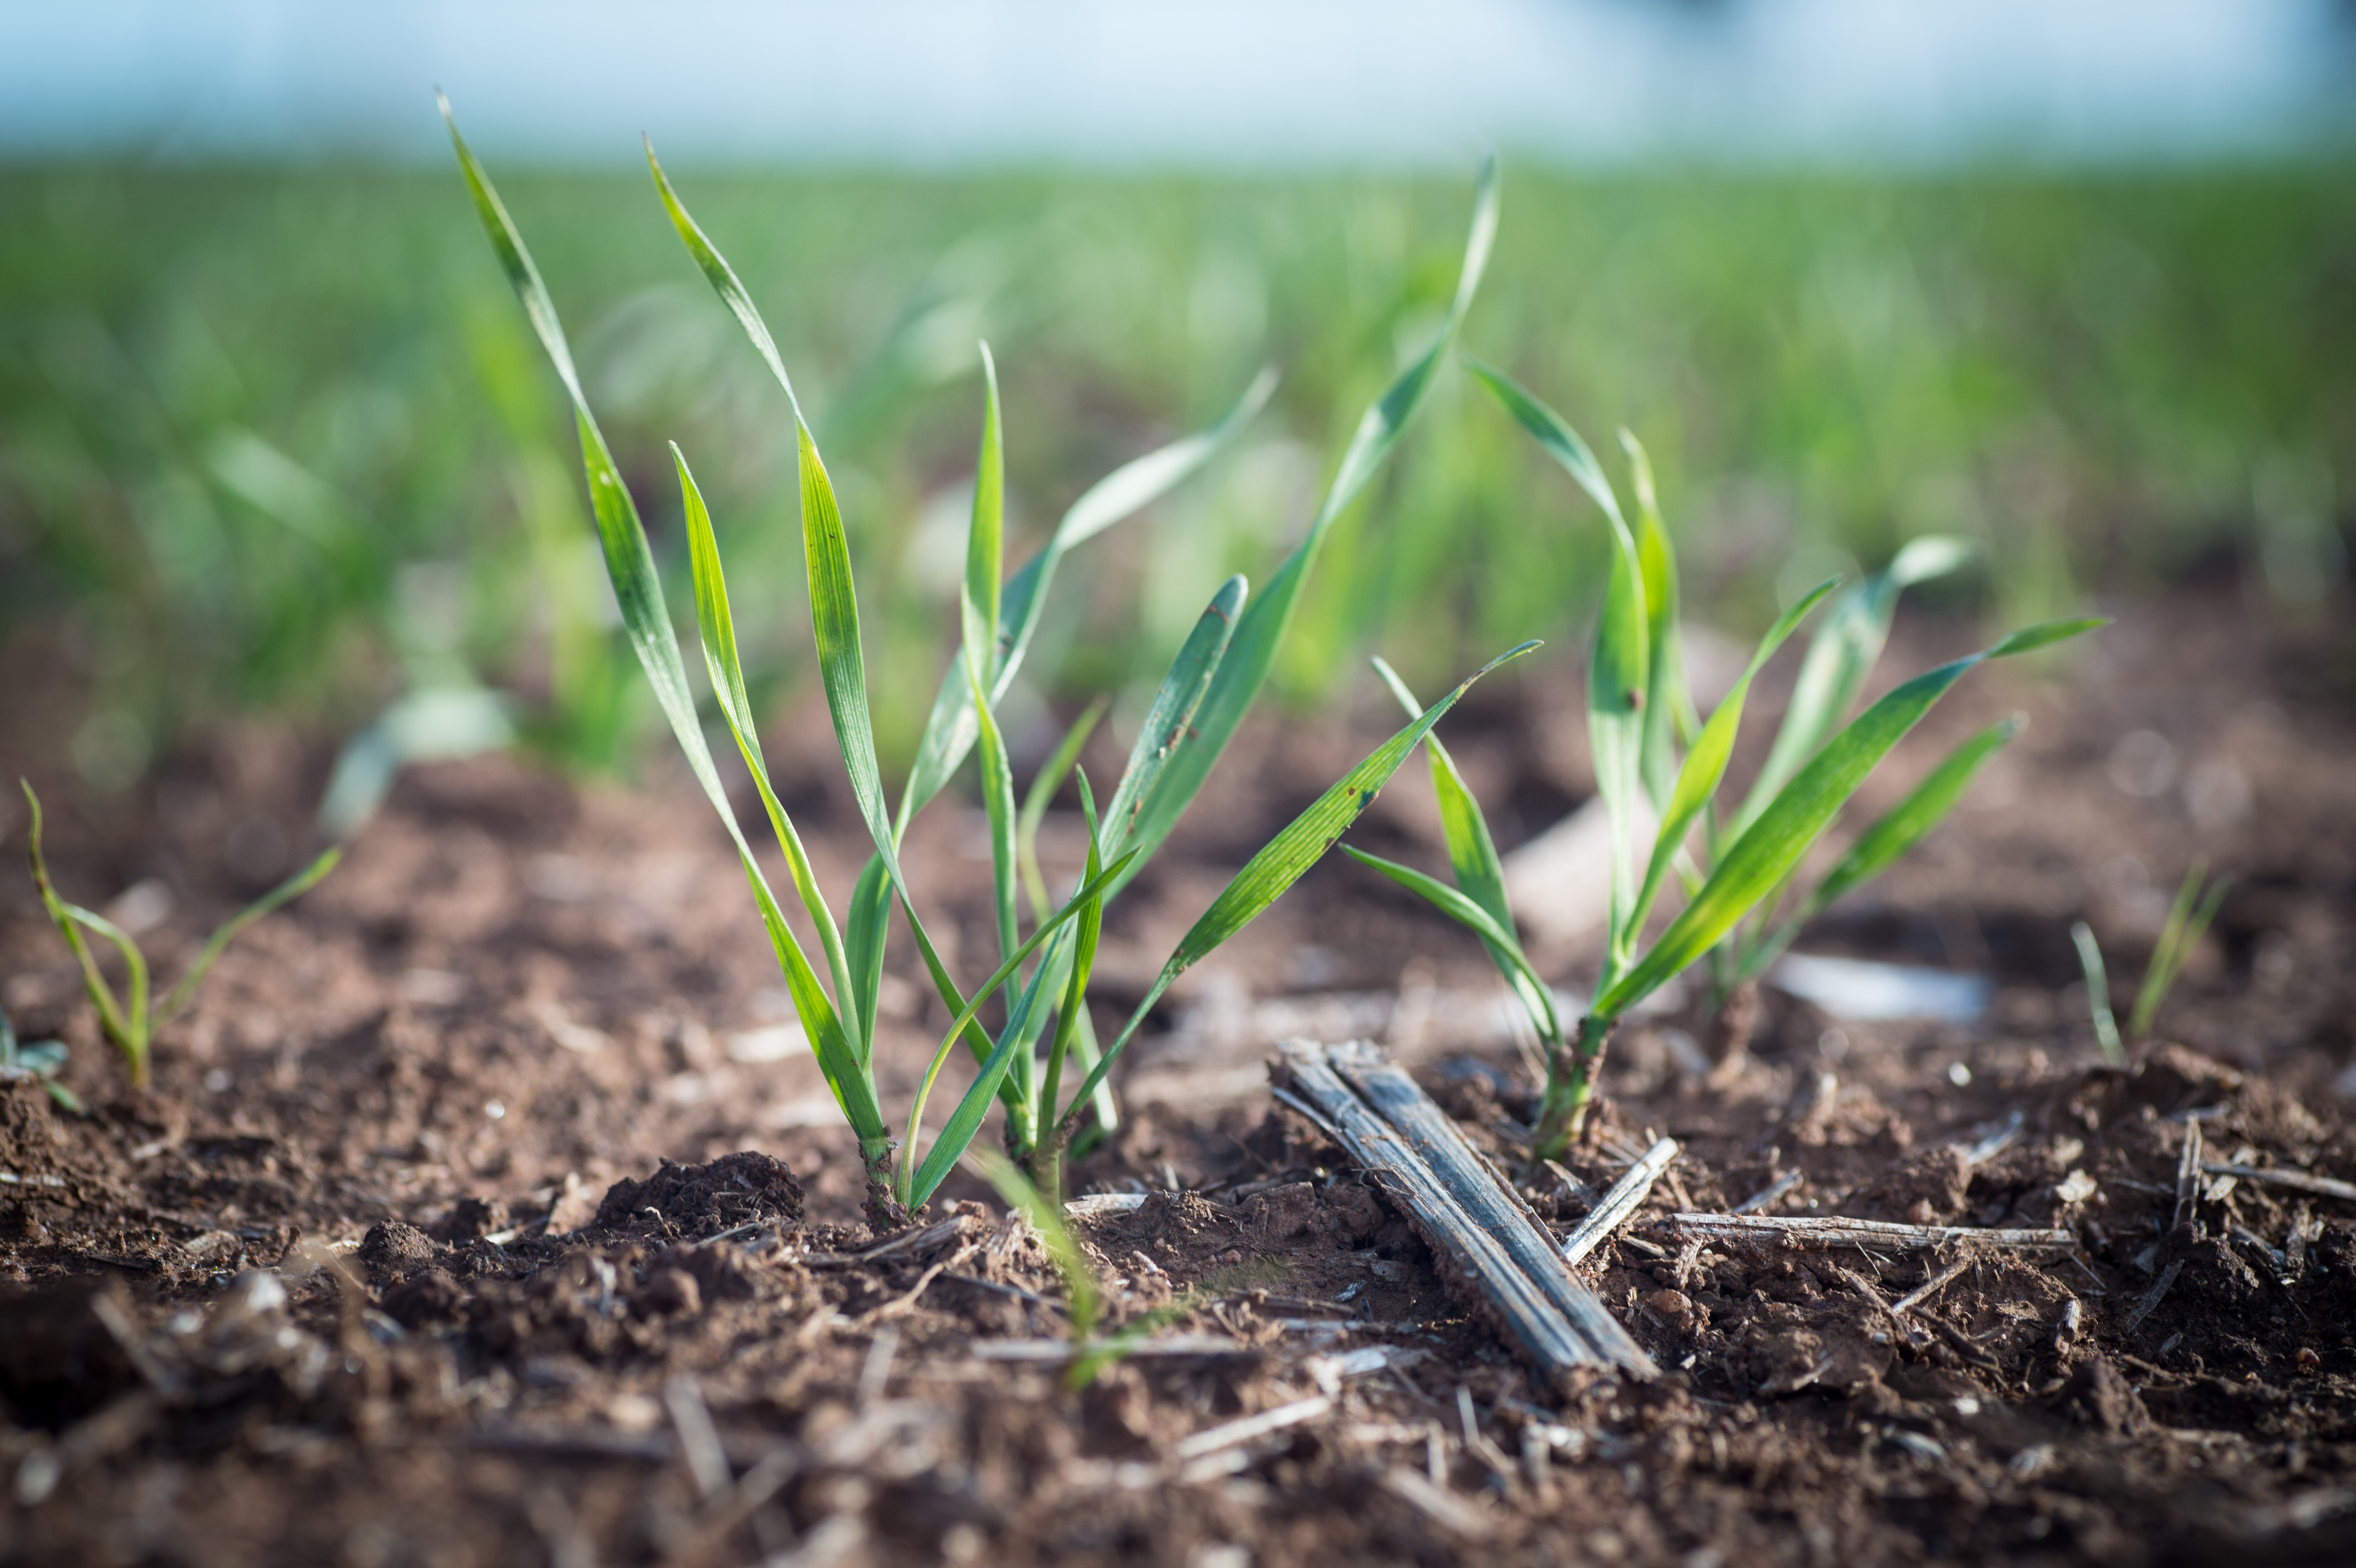
Now that most winter crops in the southern region have been sown, the nutrient assessment focus moves to plant testing, especially for trace elements.
Soil analysis is not particularly accurate for trace elements, with plant tissue testing much more reliable for these nutrients.
Plant sampling can also provide a useful check of the uptake of other nutrients during the season and the effectiveness of fertilisers applied at or near sowing time.
“For phosphorous, plant tissue testing is a gauge of whether the fertiliser application at sowing delivered enough nutrient and whether the plant has been able to access the fertiliser,” Dr Mason says.
“Unfortunately, rectifying any phosphorous deficiency cannot be done in-season, but it is useful information for following seasons.”
When plant tissue testing, Dr Mason recommends taking samples at growth stage 30, or the end of tillering.
“For nitrogen, GS30 is just before a crop’s peak nitrogen demand so if a laboratory can offer a suitable turnaround time, growers can make a quick decision on rates and whether they need to apply more nitrogen just before the crop really needs it.”
Similarly, trace element deficiencies identified early in the season can be rectified with foliar sprays.
When taking plant tissue samples, it is recommended to take samples from good and poor zones of the paddock to help diagnose causes of any variable crop performance.
Plant sample collection
“Taking whole plants is recommended for accurate nitrogen and phosphorous measurements because these are highly mobile within the plant and deficiencies will show up in the older leaves,” Dr Mason says.
In contrast, trace elements tend to be immobile in plants and symptoms show up in the youngest leaf. Previously, it was recommended to collect the youngest leaves to accurately diagnose trace element deficiencies, even though whole plant samples provide a useful estimate of trace element status.
“However, this led to confusion about which parts to sample, so nowadays we generally recommend taking whole plants for a snapshot of all nutrients,” Dr Mason says.
Check with your laboratory or agronomist for their preferred sampling method.
Some recommend collecting all the plants on rows either side of a 30 centimetre ruler and repeating this three times in each of the pre-determined monitoring zones. Cut the plants off at ground level with clean scissors or secateurs and include all above ground shoot material in the sample.
Others recommend pulling up a predetermined number of plants (e.g. 15-25) randomly over the sampling zone and then cutting off the roots.
Record the growth stage of the crop, time between emergence and sampling, the row spacing and seeding rates, so that biomass production and plant nutrient status can be calculated.
Samples should be placed in clearly labelled bags and sent by express post to the chosen laboratory. Only use paper bags, often provided by the laboratory, as samples tend to sweat and decompose if plastic bags are used. As with soil samples, plant samples can be stored in the refrigerator for a day or two if needed.
Plant testing should not be conducted within 36 hours of a frost or heat shock event, or herbicide application.
Soil testing
GRDC’s soil testing for crop nutrition fact sheet states that when considered in combination with information about target yield, available soil moisture, last year’s nutrient removal and soil type, soil tests are essential to making accurate fertiliser decisions.
Dr Mason says topsoil testing to a depth of 10 centimetres below the soil surface is important in understanding the level of immobile nutrients available, particularly phosphorus, while deeper sampling is key for identifying nitrogen, potassium and sulphur levels which, due to their mobility and inherent soil properties, are prevalent throughout the rooting depth.
“For example, knowing how much soil nitrogen is available to the crop near sowing is helpful because we can use rules of thumb for the nitrogen requirements of different crops at different yield targets to calculate how much fertiliser needs to be applied to supplement the soil supply,” he says.
Developing a soil testing strategy
Before diving into soil testing, it is important for growers and agronomists to devise a testing strategy.
Dr Mason says it is important to first understand the variability within a paddock and identify different production zones. Most growers will have a good sense of the high and low yielding parts of the paddock from their previous experience, but tools such as grain yield maps, in-season NDVI maps or mapping technologies like EM38 can provide a more accurate picture.
Testing in different production zones can help a grower or adviser identify the causes of variable crop growth and yield.
“There are often significant changes in soil types across a paddock which will drive nutrient availability and crop performance,” he says.
“Constraints can vary enormously within a paddock, so there is a shift to applying fertilisers and soil amendments based upon production zones, soil types and yield maps.”
When testing, it is important to avoid fence lines, stock camps, watering troughs, any old lime or fertiliser dumps, and crop headlands.
Sampling frequency
While soil testing every cropping paddock each year is desirable, Dr Mason understands that can often be difficult due to the amount of cropping land sown by most farmers.
He says many growers opt to test each paddock every four or five years on a rotational basis, or when a paddock is going to be planted to wheat.
“We’ve found during the initial stages of the project that the cost of soil analysis and testing can be seen as a hindrance,” he says.
“However, the cost of soil testing is often only a small percentage of the actual fertiliser cost, so it is a worthwhile investment to make sure you’re applying the right amounts of the right nutrients.”
For more stable nutrients, including phosphorous, sampling can be conducted from anywhere between harvest and sowing time, while for nutrients which are sensitive to mineralisation such as nitrogen and sulphur, testing is best conducted in March (allowing for turnaround in the laboratory) to gain a more accurate idea of what nutrients will be available to the crop at sowing.
“Some growers and agronomists are also doing some in-season soil testing for nitrogen,” Dr Mason says.
“This helps them to determine how much nitrogen has mineralised since sowing and what in-season fertiliser might be needed to achieve target yields.”
Soil sampling collection
Some nutrients such as phosphorus and potassium are more concentrated directly under the previous year’s row. Nonetheless, the majority of soil samples should be taken within the inter-row because the crop is normally planted between rows and ultimately the crop’s roots will grow and take up water and nutrients from the whole soil zone.
Consequently, a ratio of one sample on-row to nine samples in the inter-row is recommended.
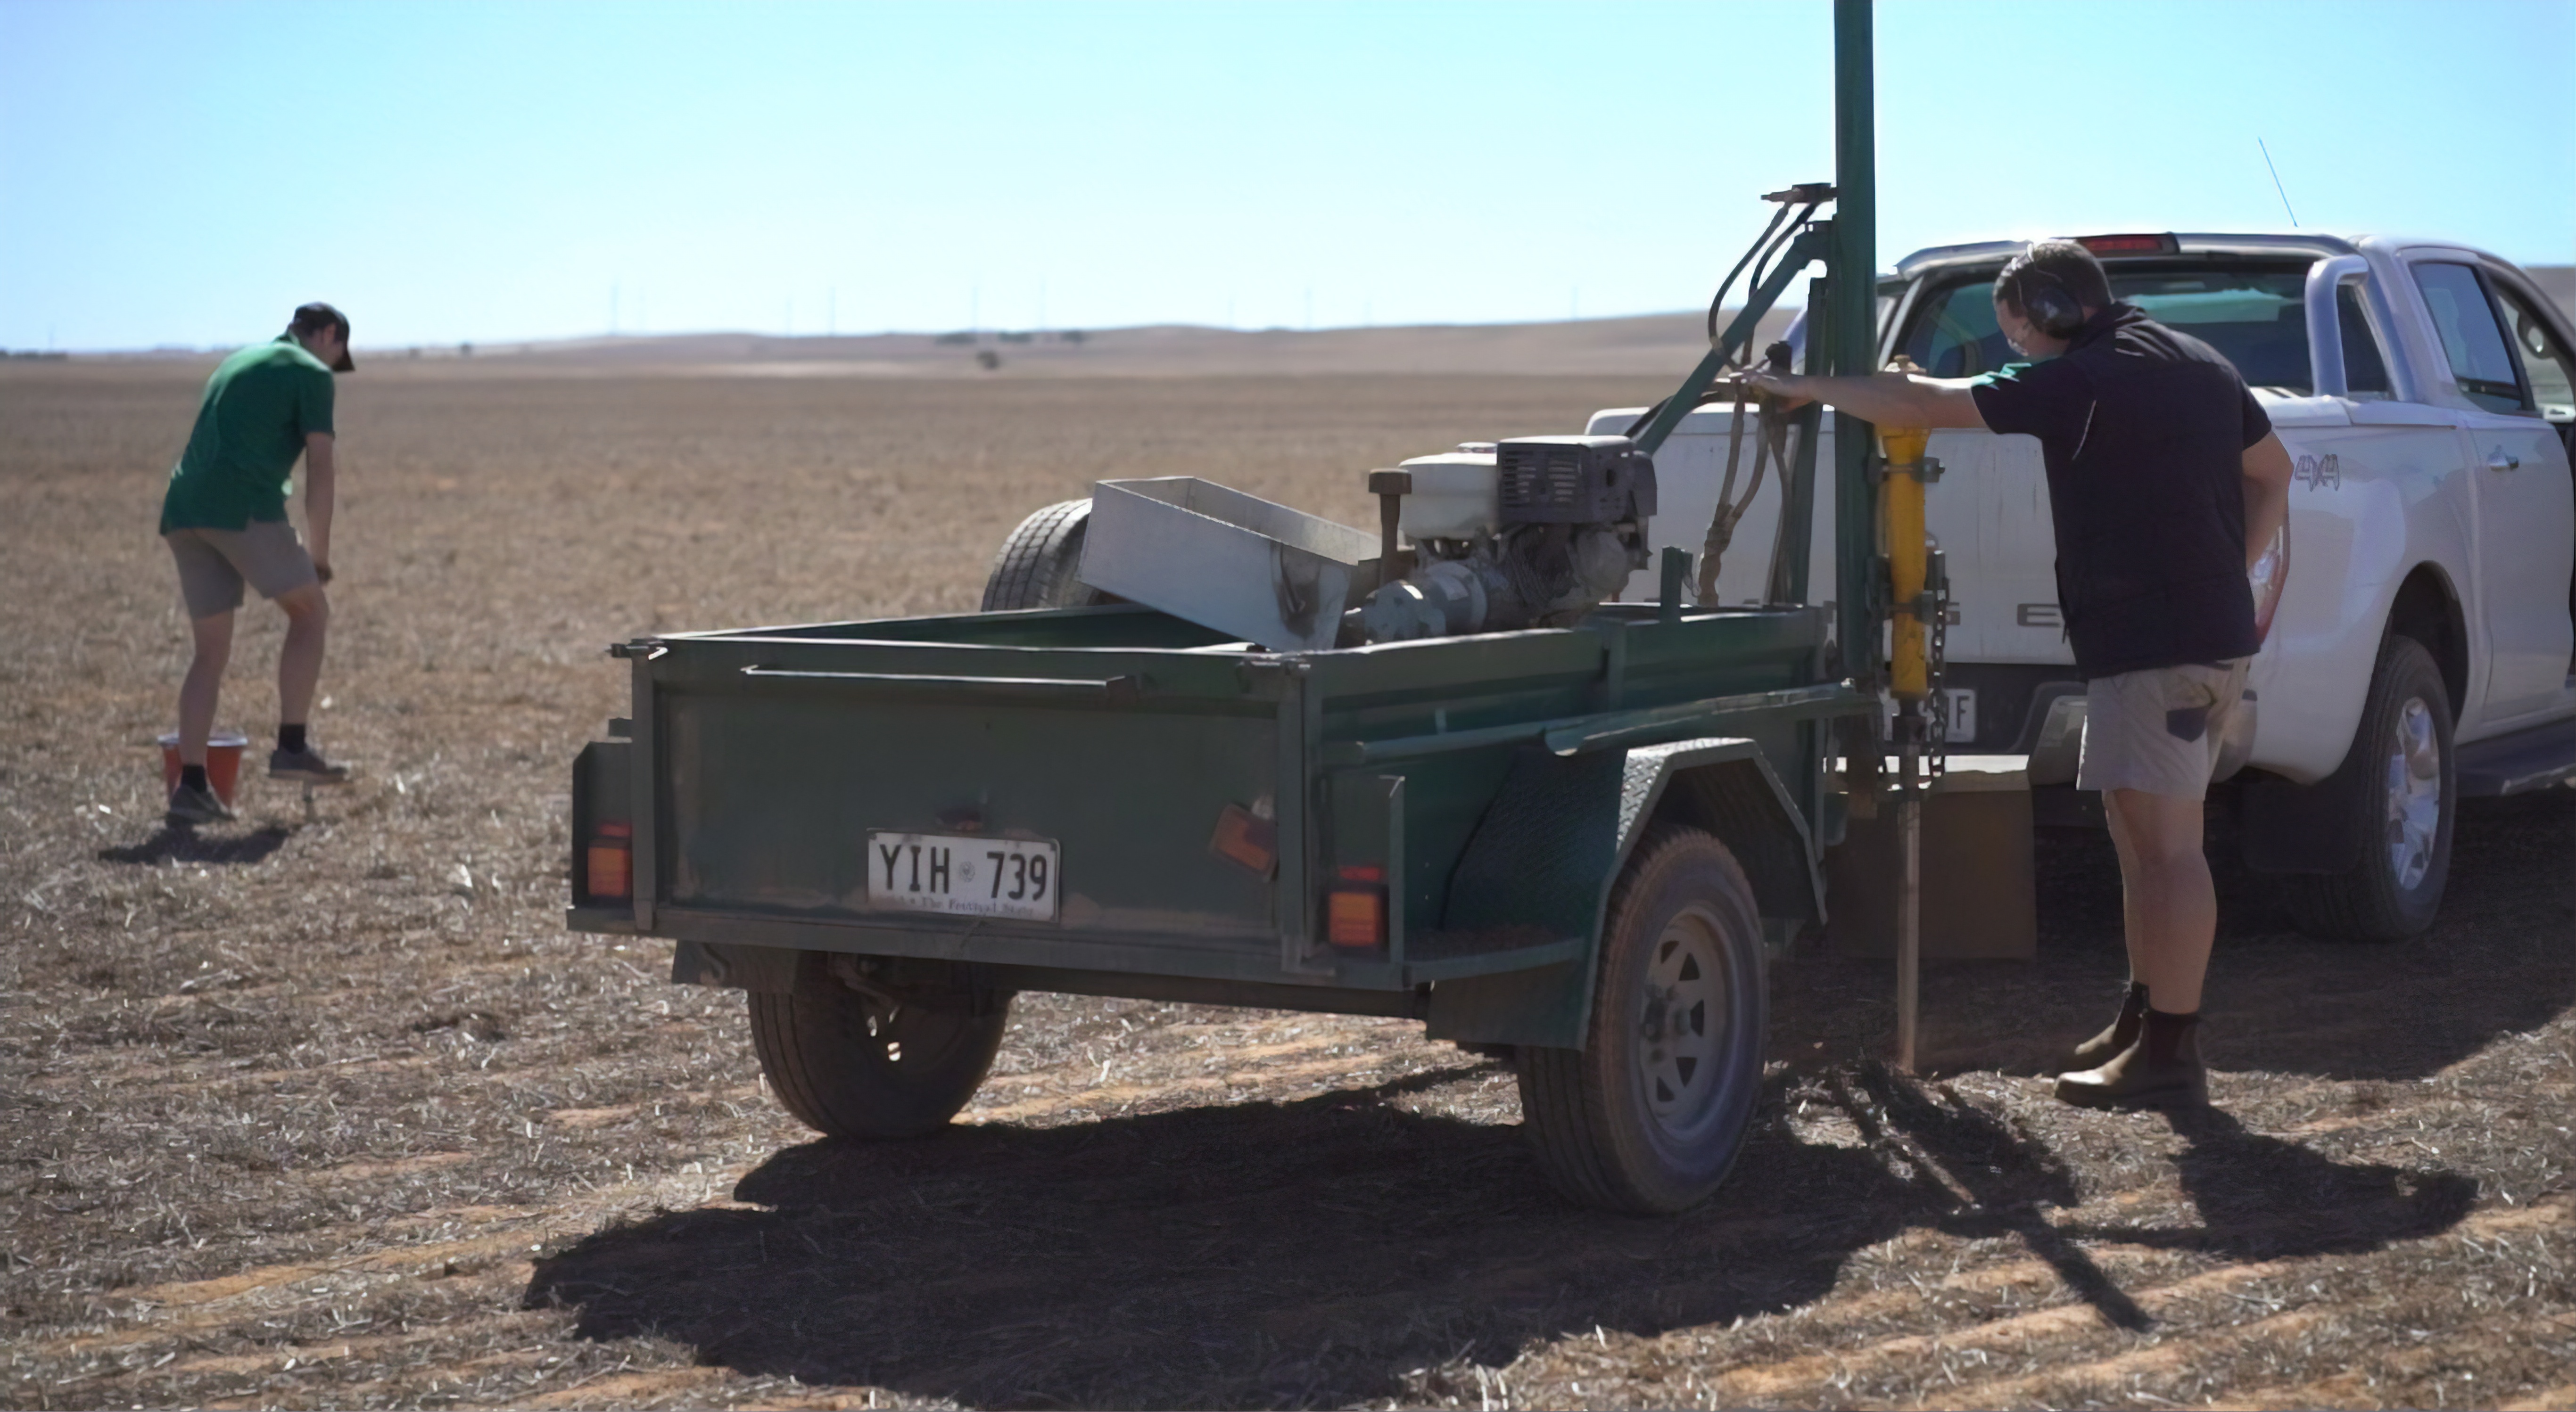
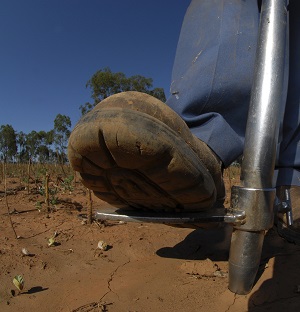
When it comes to collecting soils for analysis, Dr Mason says samples from 0-10cm below the soil surface can be collected using a ‘pogo stick’ sampler, while a soil sampler with a hydraulic ram setup is the most effective way to take deep soil samples.
When using a pogo sampler, collect 15-20 topsoil cores (using the 1:10 on-row inter-row ratio) in a bucket over an area of about 4-5 square metres. Using your boot, push aside any plant residues on the soil surface before inserting the pogo. In dry sandy soils, make sure none of the sample falls out of the pogo before it goes into the bucket.
Mix the cores thoroughly in the bucket before taking a representative subsample of about 150 grams to send to the laboratory in a clearly labelled plastic bag (often supplied by the laboratory).
Before taking a deep soil core, it is advised to remove the topsoil to 10cm with a shovel, ensuring there is a clean surface area to take the deeper core samples and the dry topsoil does not collapse and contaminate deeper samples.
The soil sampling tube should be inserted to a depth that matches typical crop rooting depth on that particular soil type. The tube should then be removed and the soil core slowly pushed out into a collection tray, keeping the core reasonably intact. Typically, the core is separated into 10-30cm, 30-60cm and 60-90cm sections, each with its own bucket.
It is important to send samples to an accredited soil testing laboratory as soon as possible because mineralisation can occur in warm moist soils which will change the nitrogen and sulphur values. If soil samples must be stored for more than a day, put them in a refrigerator or cool room which will prevent any significant mineralisation.
Key nutrient levels
Dr Mason says critical soil and plant nutrient levels are determined by interpreting databases that contain data from replicated field trials.
He says the bulk of the data regarding both soil and plant testing is for wheat, though recent research efforts have aimed at improving the database for barley, canola and other crop types that have become popular options in current rotations.
“The Better Fertiliser Decisions for Crops database is a powerful tool which allows advisers to view thousands of field trials to identify critical soil nitrogen, phosphorous, potassium and sulphur levels,” Dr Mason says.
“It is important to note that critical plant tissue levels will change according to crop stage, due to nutrient dilution as the crop grows, and potentially between years at the same growth stage given seasonal conditions and variations in dry matter production.”
Strip trials
Fertiliser strip trials are a useful way to show the effects of nitrogen and phosphorous inputs on crop growth and development to growers.
Dr Mason says placing an N-rich strip – a run of a high nitrogen fertiliser rate – next to a nil fertiliser strip can show crop responses to nitrogen.
When compared to a normal application rate, the strip trial can also reassure growers they are applying the correct rate of nitrogen and not losing out on yield or profit.
“If any differences in colour or growth appear between the strips, it can be attributed to nitrogen. If the crop looks inferior to the N-rich strip, this indicates that crop may be N deficient,” Dr Mason says.
Plant testing of the strips will confirm nutrient status.
“There is no reason why this methodology can’t be extended to phosphorous as a P-rich strip to indicate whether current phosphorous inputs are meeting crop requirements.
“Most modern seeders and technology can be pre-programed to instigate fertiliser strip trials.”
Using soil and plant testing data to better inform nutrient management and optimise fertiliser investments for grain growers in the southern region is being led by Dr Mason and Harm van Rees in conjunction with Australian Precision Ag Laboratory (APAL), CSIRO, Landmark, Hart Field-Site Group and AgCommunicators with support from Mallee Sustainable Farming, Southern Farming Systems and Eyre Peninsula Agricultural Research Foundation.
More information
Sean Mason, 0422 066 635, sean@agronomysolutions.com.au
Useful resources
GRDC Project Code: ASO1805-001RTX,
Was this page helpful?
YOUR FEEDBACK